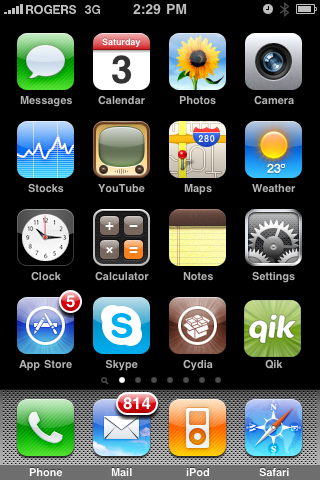
Step One
Press to launch Cydia from your iPhone Springboard.
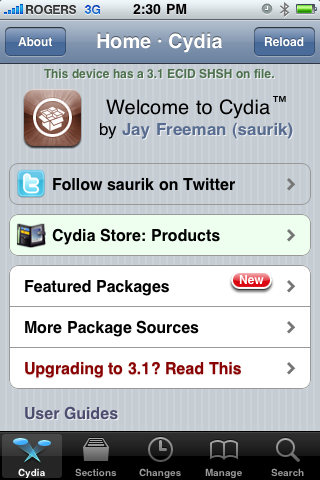
Step Two
Press to select Manage from the tabs at the bottom
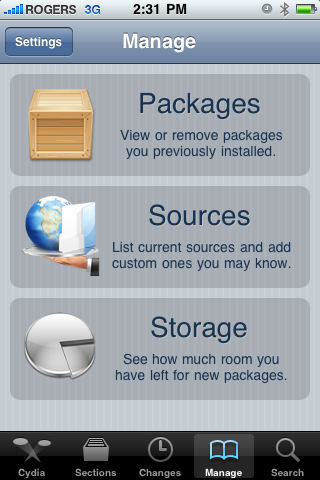
Step Three
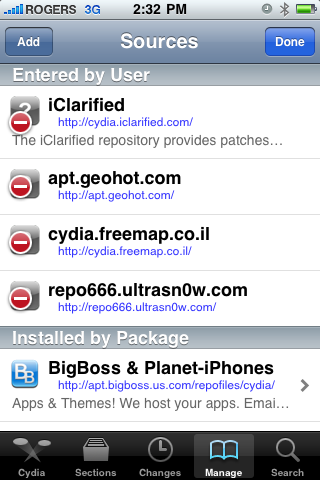
Press the large Sources button.
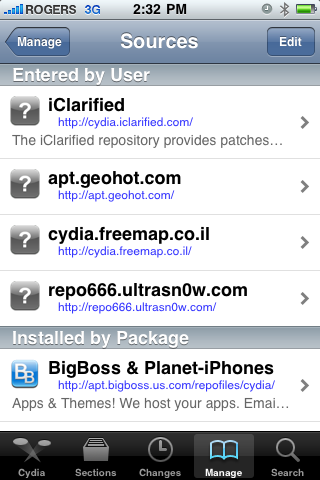
Step Four
Press the Edit button at the top right of the sources list.
Step Five
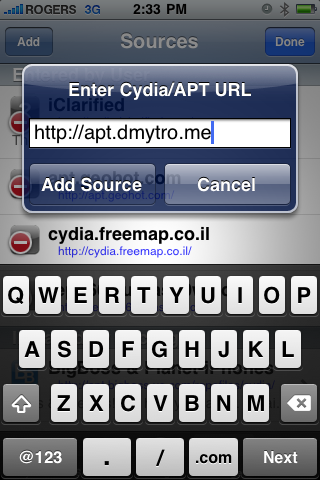
Press the Add button that appears at the top left.
Step Six
Enter http://apt.dmytro.me as the Cydia/APT URL then press the Add Source button.
Step Seven
Cydia will now update your sources. Press the large Return to Cydia button when finished.

Step Eight
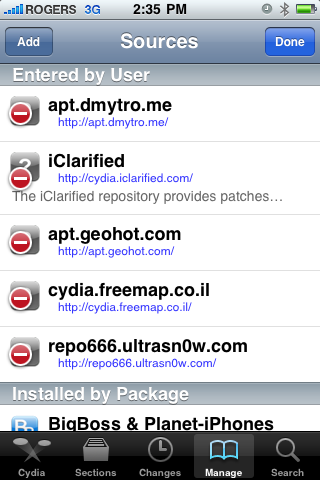
Press the Done button at the top right of the sources list.
Step Nine
Press to select the apt.dmytro.me source we just added

Step Ten
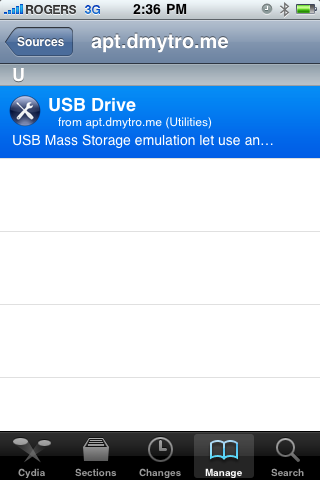
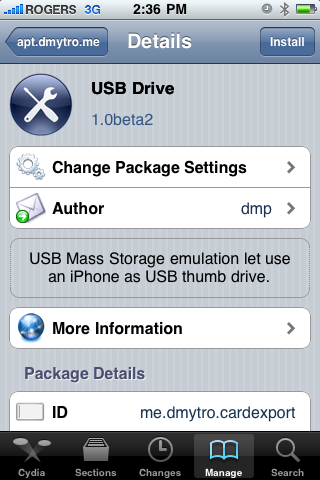
Tap to select the USB Drive package from the list of packages
Step Eleven
Press the Install button at the top right of the screen.
Step Twelve
Press the Confirm button at the top right of the screen

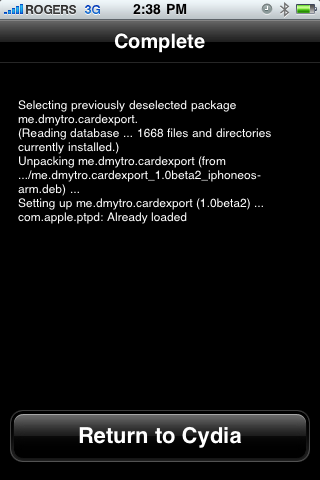
Step Thirteen
Cydia will now install your package. When it has completed successfully, press the large Return to Cydia button.
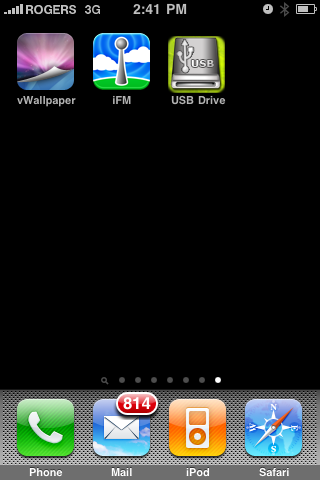
Step Fourteen
Press the Home Button to return to your Springboard then press to launch USB Drive from your list of applications.
Step Fifteen
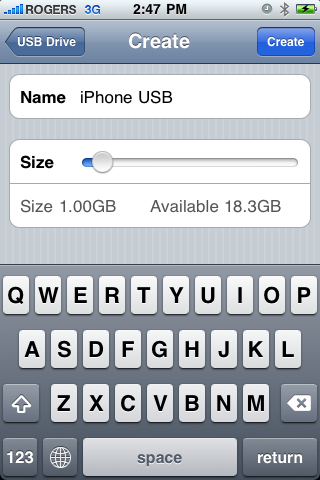
First we must create a Virtual Disk on the iPhone. Press the Create Disk... button to continue.
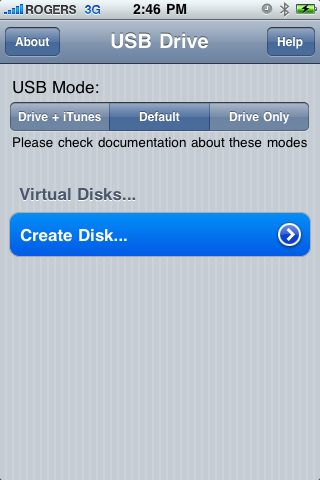
Enter a name for your virtual disk and use the slider to specify how much space you would like to allocate it. When done click the Create button at the top right of the screen.

Step Sixteen
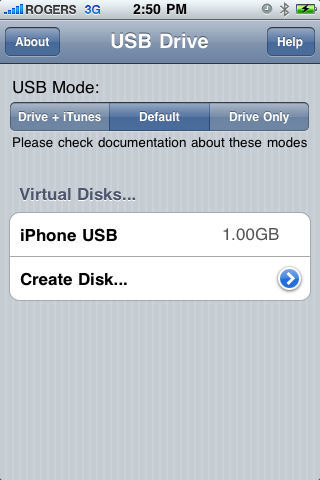
Now that we have created a disk to access we must specify the USB Mode. You have three choices:
Drive + iTunes:
In this mode USB Drive replaces Picture Transfer Protocol (PTP) interface with Mass Storage interface and lets you use the iPhone as a USB Drive. At the same time you can perform iTunes synchronization, developers can use XCode debugger ,etc. In this mode USB Mass Storage will not work on Windows with iTunes or Apple USB Drivers installed.
Default:
This is the iPhone default mode. USB Drive doesn't install daemon application nor modify any USB settings. Picture Transfer Protocol (PTP) is active as well as iTunes synchronization and tethering over USB.
Drive Only:
This mode is to resolve compatibility issues with Windows and iTunes. In this mode USB Drive changes the iPhone's USB product ID. This will prevent iTunes synchronization, but USB Mass Storage will work on Windows (and other operating systems). Switch to the Default or Drive + iTunes mode will restore iTunes sync.
Press to select the mode of your choice. We chose Drive + iTunes because we rarely need Windows compatibility.
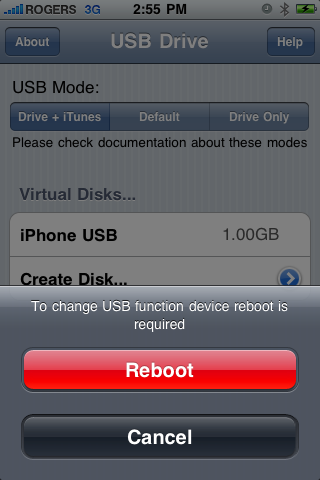
A popup will appear asking you to reboot to apply the changes. Press the large Reboot button.
Step Seventeen
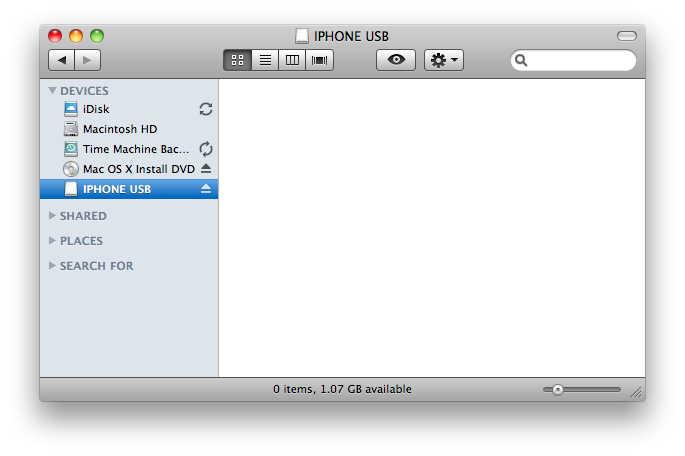
Once your iPhone reboots you will now be able to access the virtual disk you created using USB Drive.
0 comments:
Post a Comment